Stop Shooting Blind: Learn to Read the Light
A practical guide to spotting the hidden cues in sunlight, shade and reflections that make or break your photos.
Most people think photography begins when you lift the camera to your eye.
In truth, it begins a few seconds earlier – when you notice what the light is doing.
That’s the difference between a snapshot and a photograph.
You can own the best gear on earth, but if you don’t learn to read the light, your images will always feel flat, rushed, and predictable.
In my own work – whether photographing St Mark’s Square at dawn, the old iron furnaces of Dunaújváros, or a single candle on a café table in Budapest, my first move is always the same: stop, breathe, watch the light.
1. Angle: The Invisible Brush
Light paints with direction.
A face lit from the side shows shape and texture.
The same face lit straight on can look lifeless, flat.
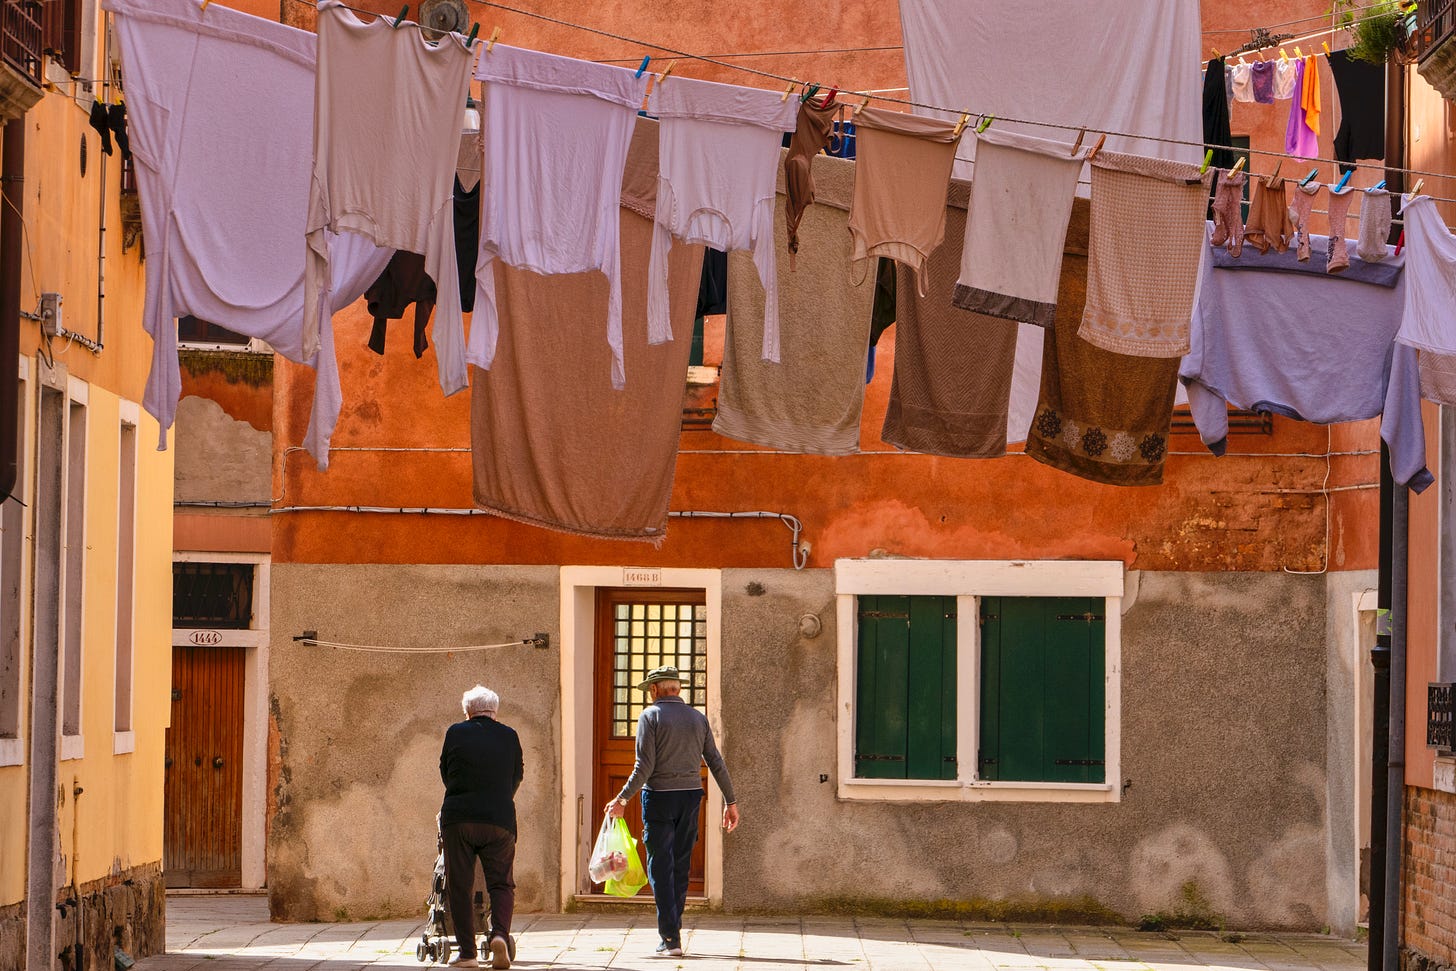
When I lead photo walks in Venice, the first exercise is often to stand still for one minute without taking a photo. I ask students to point to where the strongest light is coming from. Almost always, someone is surprised to realise that the shadows point to two or three different sources: the sun, the window, and the reflected water, all competing.
A few practical drills:
Quarter Turn Test: Before shooting, turn 90 degrees to the left or right and observe how the scene changes.
Move One Metre: Sometimes, just stepping off the curb or onto a bridge lets side light sculpt the subject.
Back-Light Hunt: look for edges that glow hair, leaves, church domes at sunset – they come alive when the light is behind them.
2. Quality: Soft Versus Hard
Think of light as having a texture.
Soft light is forgiving; it smooths skin and melts shadows.
Hard light cuts edges like a knife, exaggerates texture, and is particularly suited for black-and-white film.
You can train your eye quickly:
Edge of Shadow Test: sharp, crisp edges mean hard light; soft, blurry edges mean soft light.
Check the Sky: if the sky is a giant softbox of clouds, expect even tones. If it’s clear and high, embrace contrast.
Time of Day Matters: early morning and late afternoon bring raking soft light that slides across façades; midday is brutal, but great for graphic shapes.
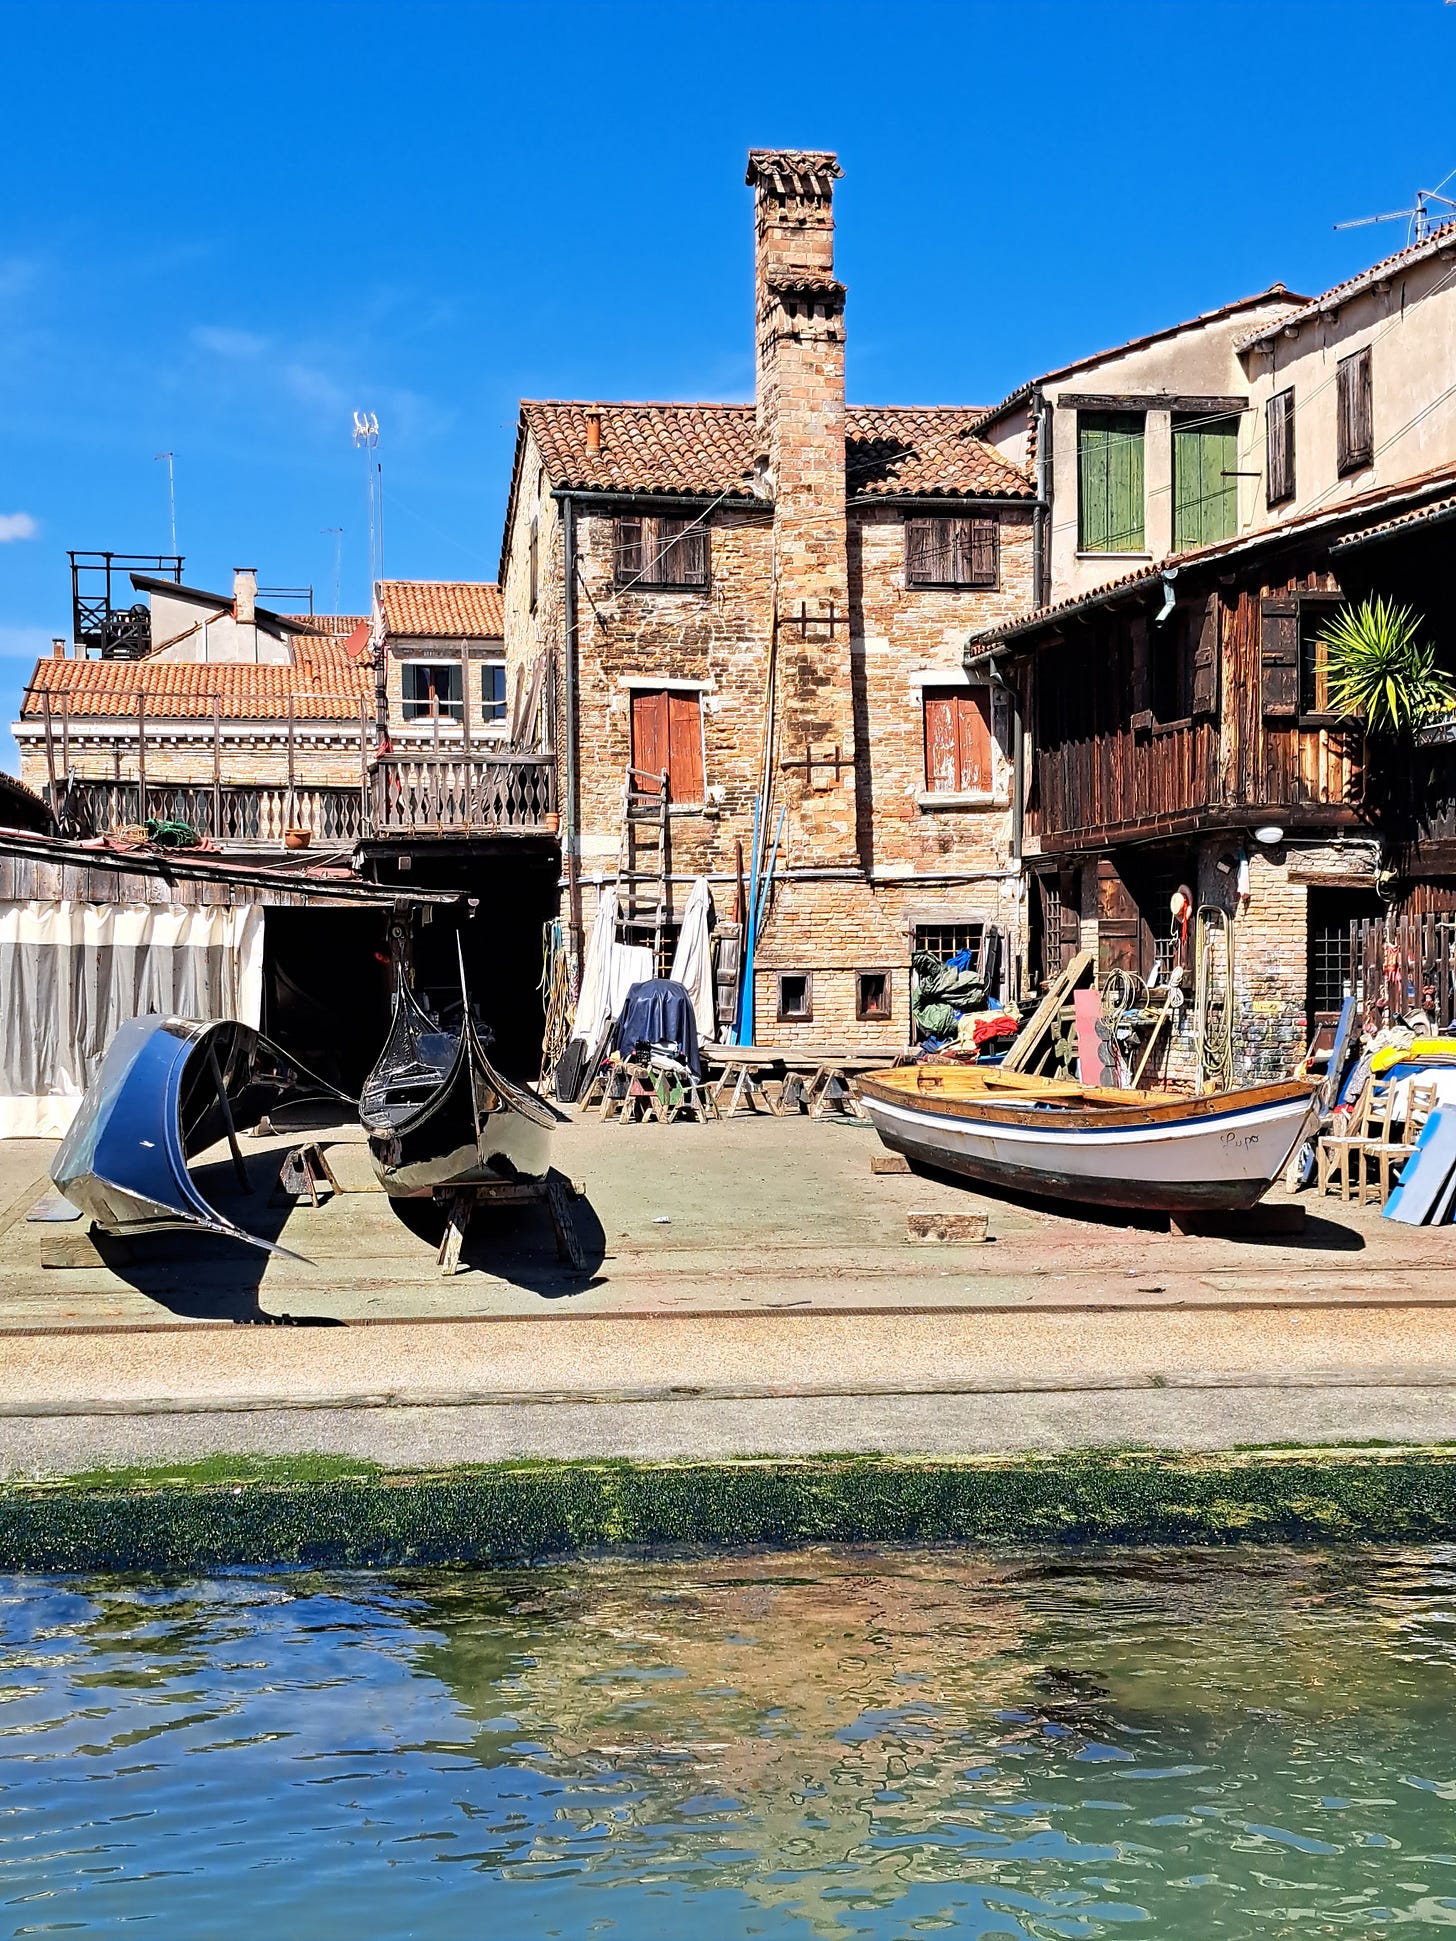
One of my favourite surprises happened at Rialto Market at noon: the harsh light piercing through the awnings carved triangular patches on the fish stalls – a gift for black-and-white composition that would never exist under a grey sky.
3. Colour Temperature: The Mood Shifter
We don’t often think about it, but light has colour.
Winter shade in Venice can be blue-cool; lamps at night burn orange; a brief shaft of sun bouncing off a yellow wall will tint everything gold.
Train yourself to notice:
White Shirt Check: look at anything neutral white and ask, does it look cool, warm, or neutral?
Reflected Light: in Venice, pale marble pavements bounce warm light up into faces, while in Budapest the Danube can cast a cooler reflection.
Mixed Light: cafés often mix window daylight with indoor tungsten bulbs – decide which one you want to dominate your photo.
Understanding colour temperature saves hours in editing later.
4. Movement of Light: Patience Pays
Light is not static. It shifts as clouds drift, as you change streets, as the sun slides down behind a bell tower.
I remember an afternoon at Campo Santa Maria Formosa. The square was dull under overcast sky, but every ten minutes the sun broke through for thirty seconds, lighting one single yellow building. Instead of leaving, I waited for the next break and caught a woman with an umbrella stepping into that bright triangle of light.
Patience is free. Use it.
5. Reading Light Indoors
Street photographers often forget that indoor light obeys the same rules: angle, quality, colour.
In the Scuola Grande di San Rocco the windows are so high that the daylight falls almost like spotlights on the wooden pews. In Hungarian village houses I often use the whitewashed wall opposite a window as a bounce to get gentle side-light for portraits.
Whenever you walk into a room, pause and ask yourself: where is the brightest point, and what is it reflecting off?
6. Practical Daily Exercise
For the next week, try this warm-up:
Start without the camera.
Spend five minutes wherever you are street corner, bus stop, kitchen – naming the angle (front, side, back), quality (soft or hard), and colour (warm, cool, neutral) of the light on one subject.
Then take just one frame, no more.
This slows you down in the right way and forces the eye to guide the camera, not the other way around.
Closing Thoughts
Learning to read light first is the most liberating skill you’ll ever acquire in photography. It costs nothing, needs no new gear, and works in any genre, street, landscape, portrait, even food.
Once you start seeing the world as shifting layers of light, you stop shooting on autopilot. You begin to anticipate the photo before it happens.
Next time you head out, keep the camera in the bag for the first five minutes. Watch the light climb façades, sneak through alleys, reflect off canals, turn strangers’ faces into sculptures. Then shoot.
If you enjoyed this post and want to dig deeper into how I approach gear, craft, and discipline in photography, these pieces expand on the same mindset.
The Power of Limitation: Why Old Lenses Still Matter in Digital Photography
The Real-World Lens Guide: 28mm
Three Focal Lengths, a Lifetime of Images
Why I Still Shoot Prime in a Zoom World
Mastering Black-and-White Photography
Try the daily warm-up today and share in the comments what you noticed – the first three observations I’ll feature in my next Notes post.


Brilliant article!
Thank you for this wonderful piece