

Seeing in Zones: How Ansel Adams Changed the Way We Think About Light
Post 1 of 4 — The Zone System Series

There is a photograph taken inside a gondola workshop in Venice. The hull of an unfinished boat curves upward from the floor, its ribs pale and sharp against the darkness of the room. A craftsman works somewhere in the middle ground, half in shadow, half in light. The walls behind him disappear into black. The wood grain on the nearest rib glows.
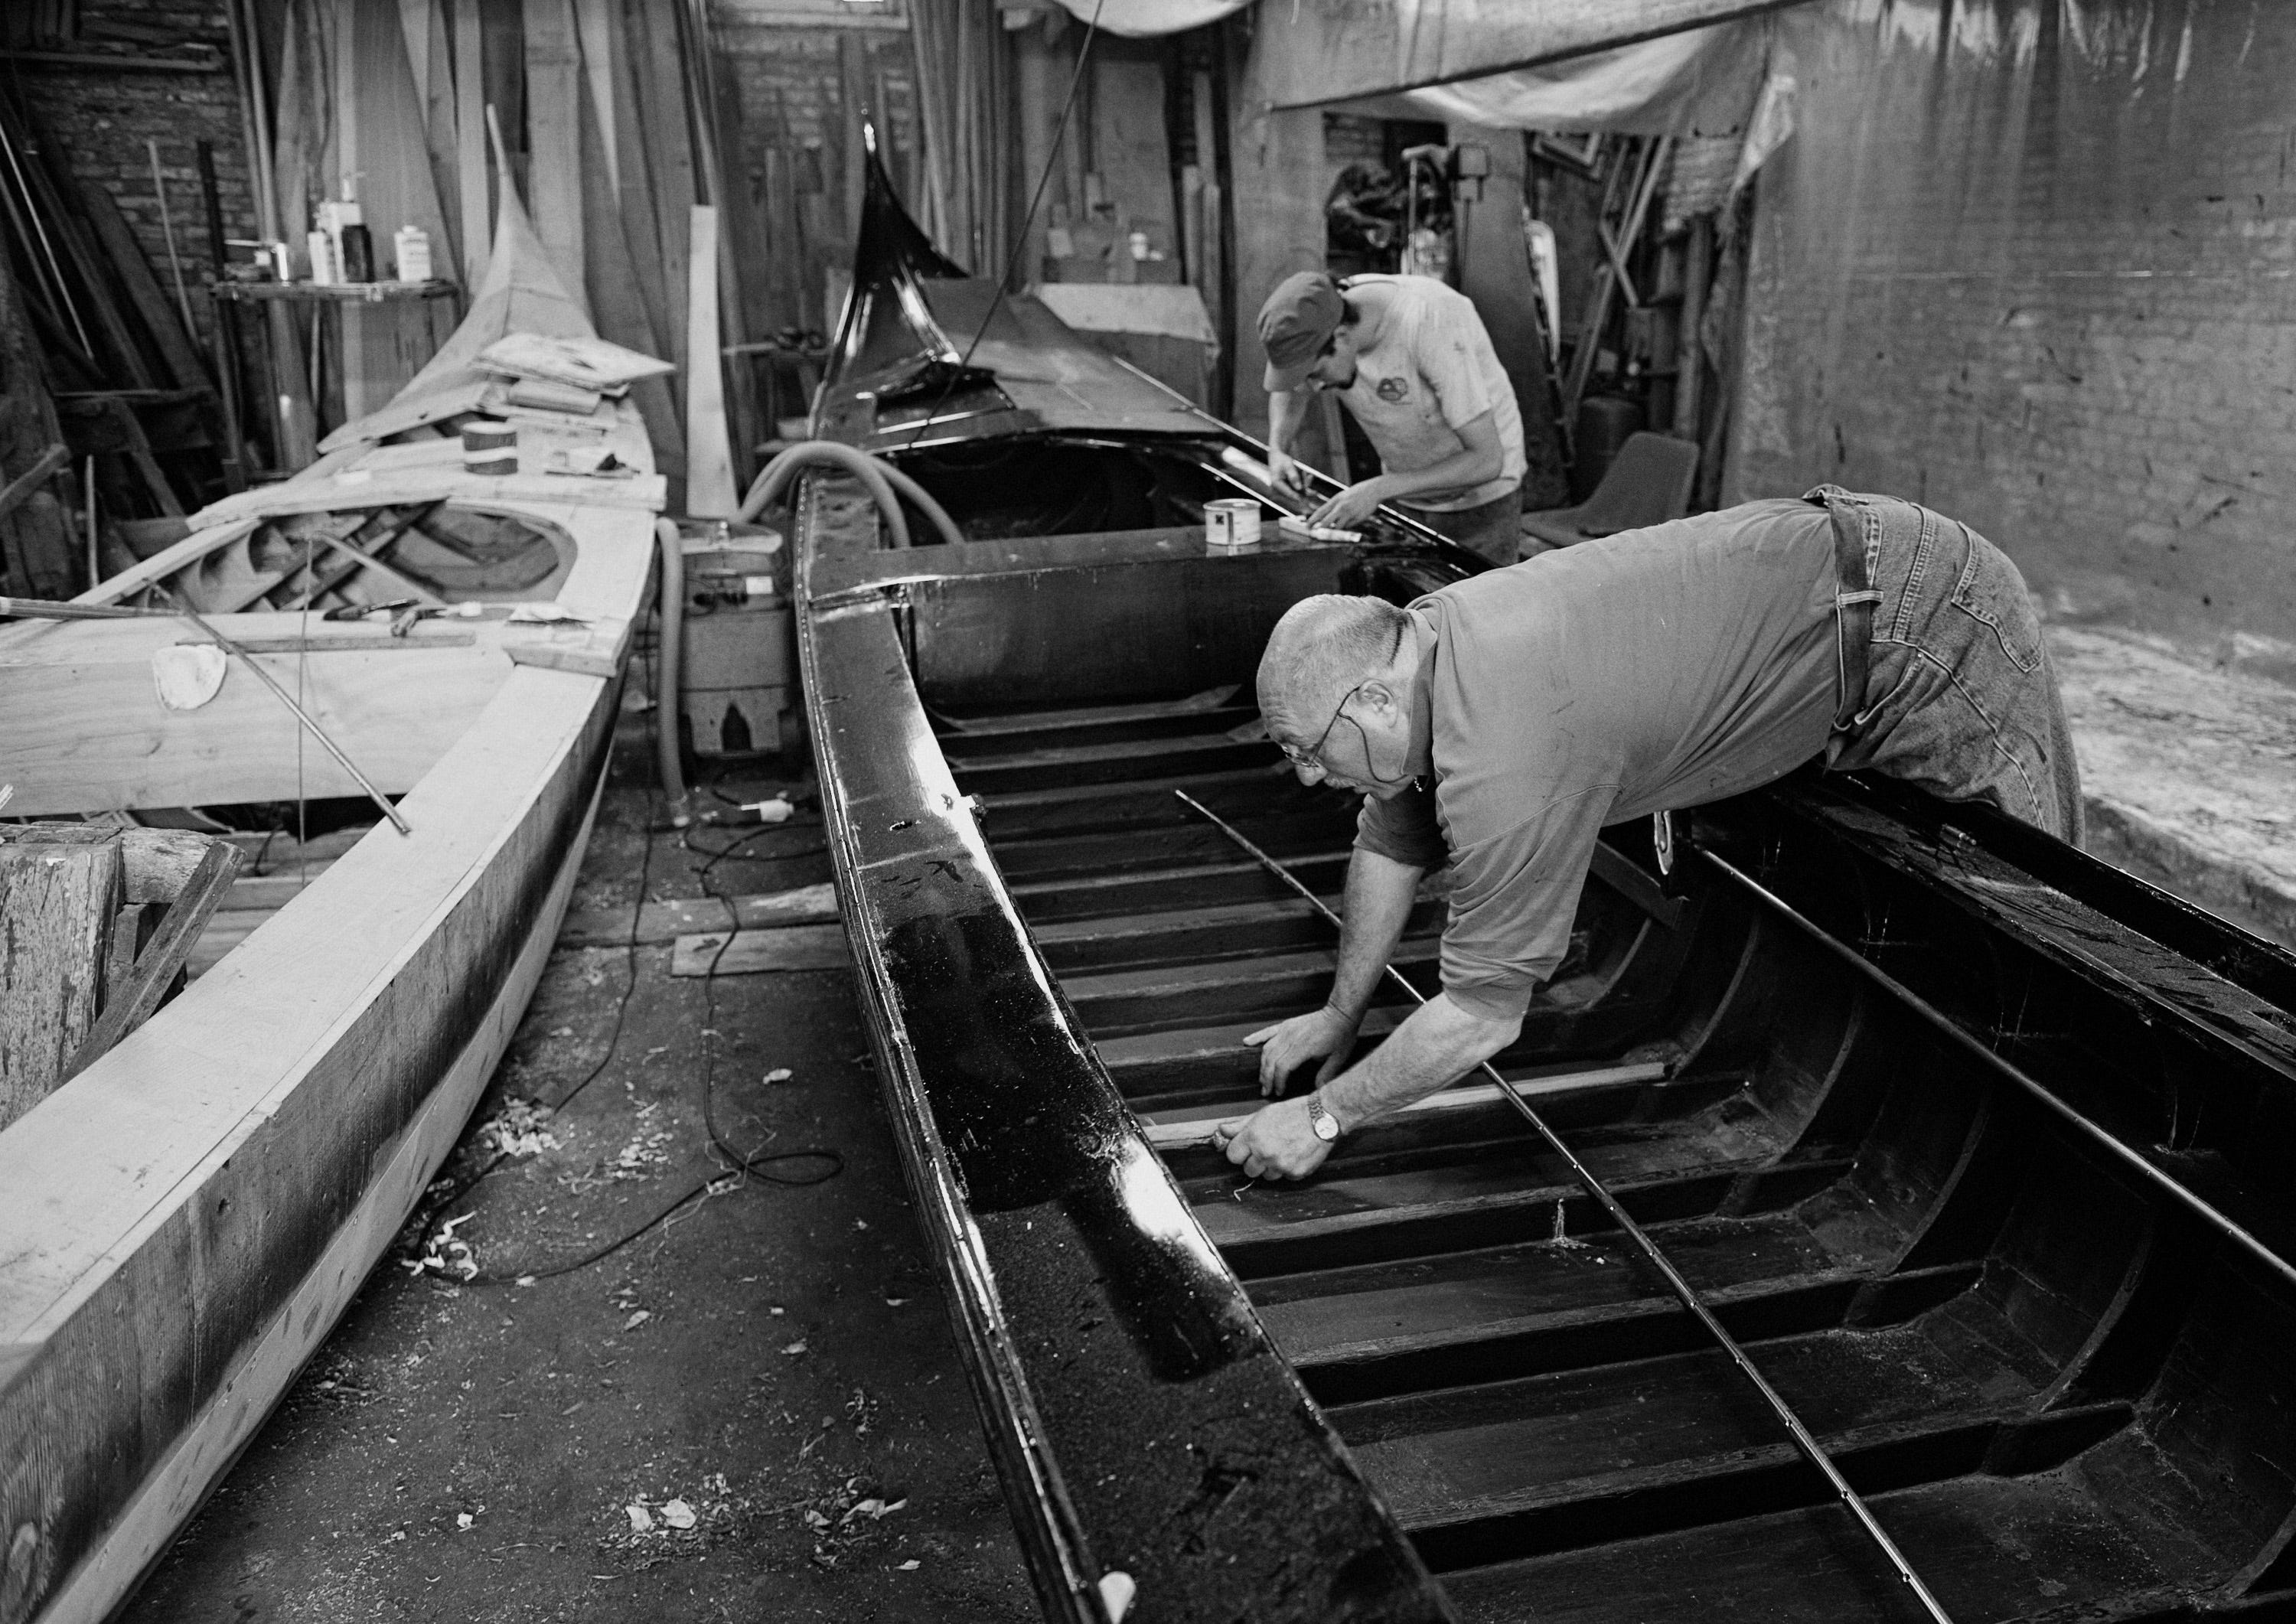
That image did not happen by accident. Every tone in it, from the deepest shadow to the brightest highlight, is where it is because someone decided it should be there. Not in post-processing. Before the shutter was pressed.
That way of thinking has a name. Ansel Adams called it pre-visualization. And the tool he built to make it systematic is called the Zone System.
Who Was Ansel Adams and Why Does It Matter
Ansel Adams was an American photographer working primarily in the 1930s through the 1960s. He is best known for his large-format black and white landscapes of the American West, particularly Yosemite. His prints are in major museums. His name is probably the most recognized in the history of photography.
But his real contribution was not the photographs. It was the thinking behind them.
Adams was also a serious musician, trained as a concert pianist. He brought a musician’s discipline to photography. A musician does not simply play notes. They think about phrasing, dynamics, silence, tension, resolution. Adams believed a photographer should approach light the same way. Not reacting to it. Composing with it.
Together with fellow photographer Fred Archer, Adams developed the Zone System around 1940. It was originally a darkroom tool, a precise method for calculating film exposure and development times to control exactly how tones in a scene would translate onto photographic paper. It was technical, rigorous, and revolutionary.
But underneath the technical framework was something more fundamental. A completely different way of seeing.
The 11 Zones: A Map of Tonal Reality
The Zone System divides the entire tonal range of a photograph into 11 zones, numbered 0 through 10.
Zone 0 is pure black. No detail, no texture. The absolute absence of light.
Zone 10 is pure white. Again, no detail. Blown out completely.
Zone 5 is middle gray. This is what a camera’s light meter is calibrated to. When you point your camera at anything and let it meter automatically, it is trying to render that subject as Zone 5.
Everything between 0 and 10 is a gradation of tone, each zone roughly twice as bright as the one below it, which is to say each zone represents one stop of exposure.
Here is the full scale:
Zone 0 — Pure black, no detail
Zone 1 — Near black, slight tonality but no texture
Zone 2 — First hint of texture in deep shadows
Zone 3 — Dark tones, full shadow detail visible
Zone 4 — Dark midtones, shadows on skin or dark foliage
Zone 5 — Middle gray, clear sky, dark skin in open shade
Zone 6 — Light midtones, average Caucasian skin in natural light
Zone 7 — Light tones, bright surfaces with full texture
Zone 8 — Near white, texture barely visible
Zone 9 — Bright white, no meaningful texture
Zone 10 — Pure white, no detail
In a well-exposed, full-range black and white photograph, you typically want your subject’s most important shadow detail to fall around Zone 3, and your most important highlight detail to fall around Zone 7 or 8. Everything else arranges itself around those anchor points.
This is where the craft begins.
Pre-Visualization: The Idea That Changes Everything
“You don’t take a photograph, you make it.” — Ansel Adams
Pre-visualisation is the practice of seeing the final print in your mind before you release the shutter.
Not the scene in front of you. Not the RAW file on your sensor. The finished photograph, with all its tones placed exactly where you want them.
This means standing in front of a gondola workshop and not just thinking “good light.” It means asking: where do I want those shadows to fall? How dark should the interior of that hull be? If I want the wood grain of the ribs to glow, which zone does that need to land in? And given the natural light in this room right now, how do I expose to make that happen?
Pre-visualisation is the bridge between observation and intention.
It is the difference between a photographer who reacts and a photographer who decides.
This is where the free portion of this post ends.
If you have been following this series on Ansel Adams, I want to make it worth your while. For the entire duration of this series, I am offering a 7-day free membership — no commitment, no friction. Just hit the button below and you are in.
And while you are at it, I also curate Through the Lens, my free Flipboard magazine where I collect the best in photography — technique, vision, and visual storytelling from around the world. No paywall, no subscription. Just good work.
In the next section, I walk through exactly how the Zone System translates to your histogram — and why understanding this changes how you expose every RAW file you ever shoot.
